Materials & Craft
How to Inspect a Sofa Before Shipping
Learn how to inspect a sofa before shipping with a practical factory QC process covering frame structure, springs, cushions, upholstery,…
Read article →
A practical guide to how fine furniture surfaces are prepared, coated, sanded, cured and inspected—and how to choose between open-grain, semi-open, closed-grain and solid-color finish systems.
· Published
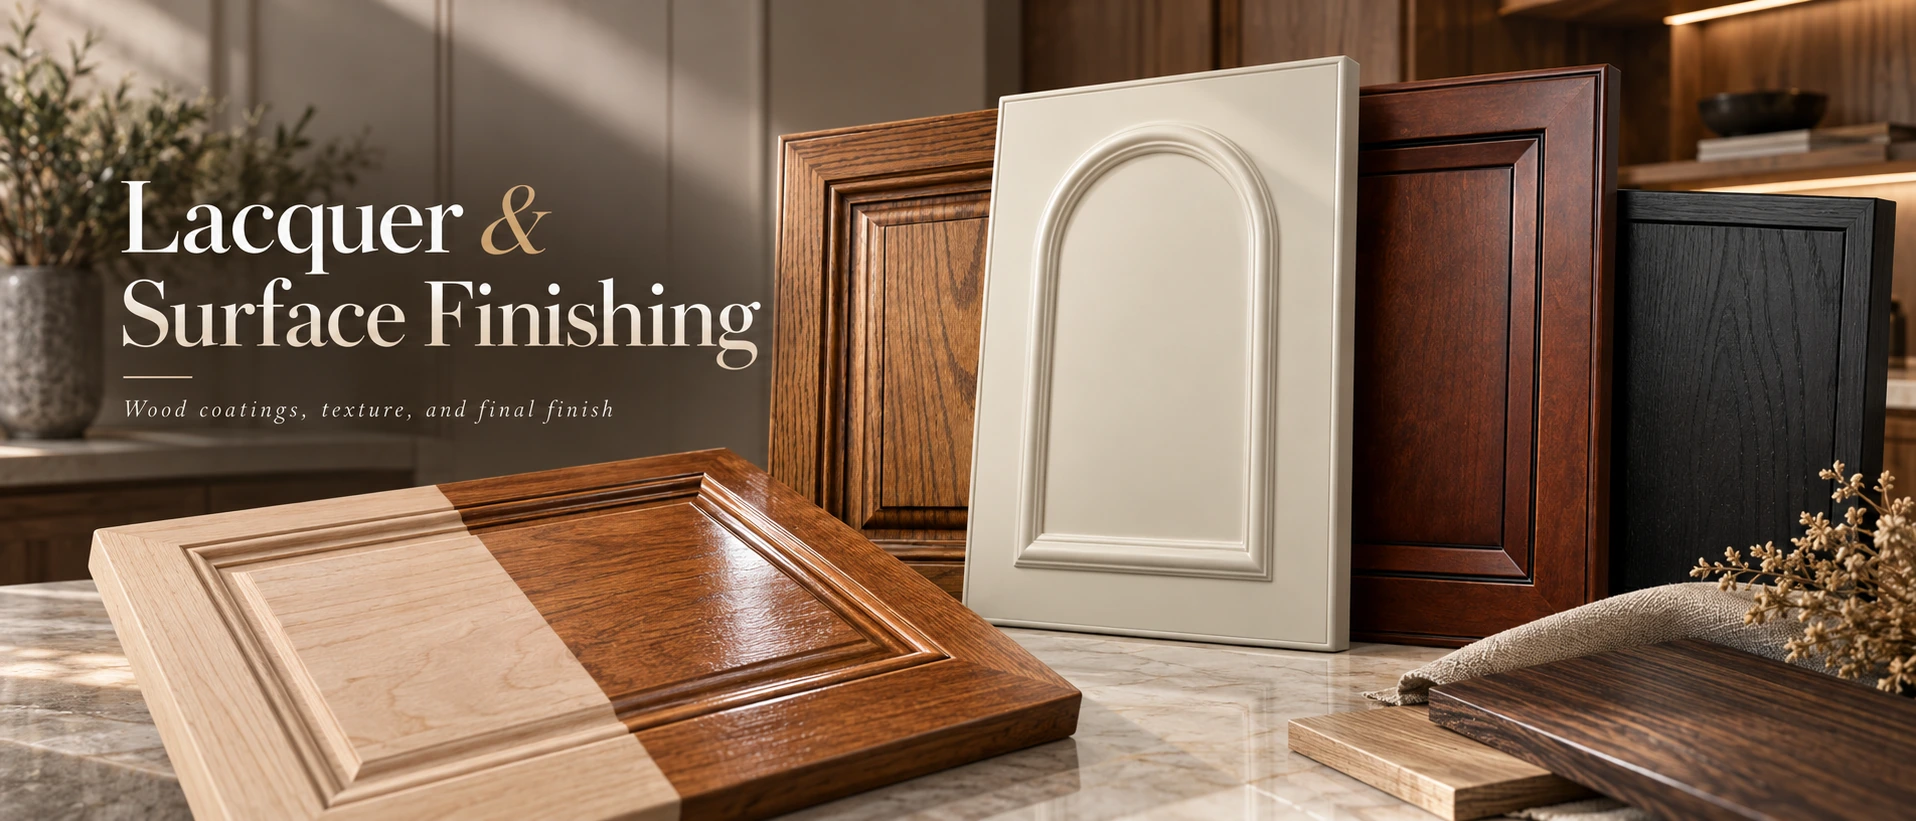
A furniture finish is not just the final color. It is a complete surface system that influences how the material looks, how the grain is read, how easily the surface can be cleaned and how consistently multiple doors, panels or furniture parts appear together. A good finish begins with the construction underneath and ends with controlled curing and inspection.
For custom cabinetry and furniture, finish quality also depends on substrate choice, machining accuracy and edge preparation. This is why surface finishing should be considered together with wood selection and joinery quality, rather than treated as a decorative step added at the end.
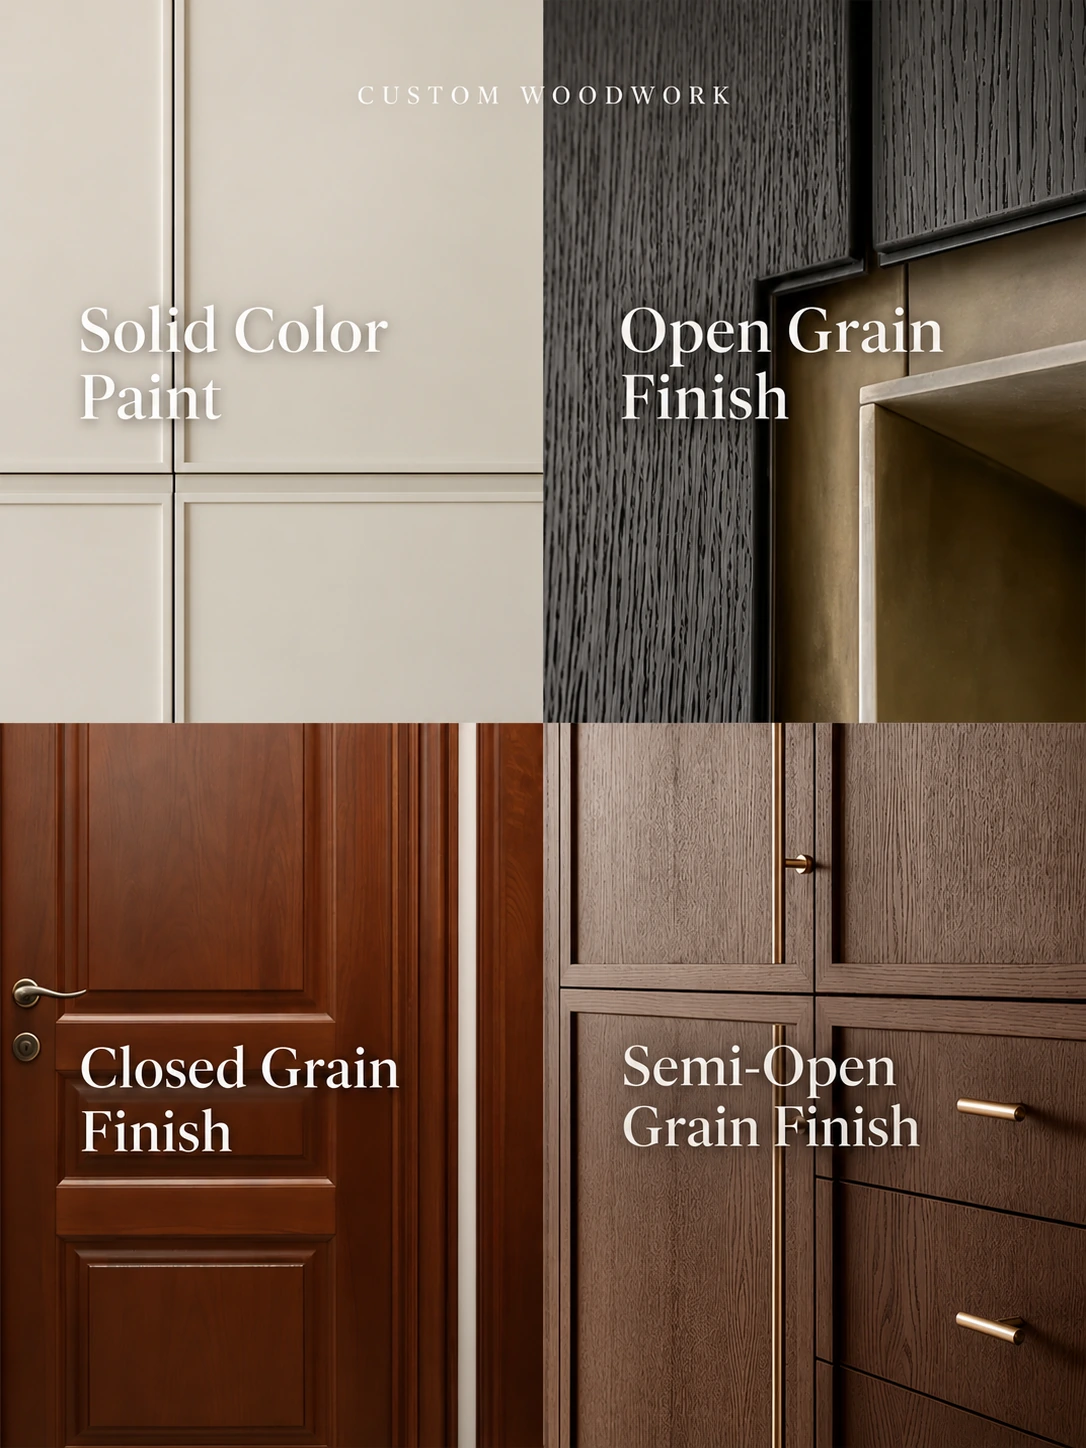
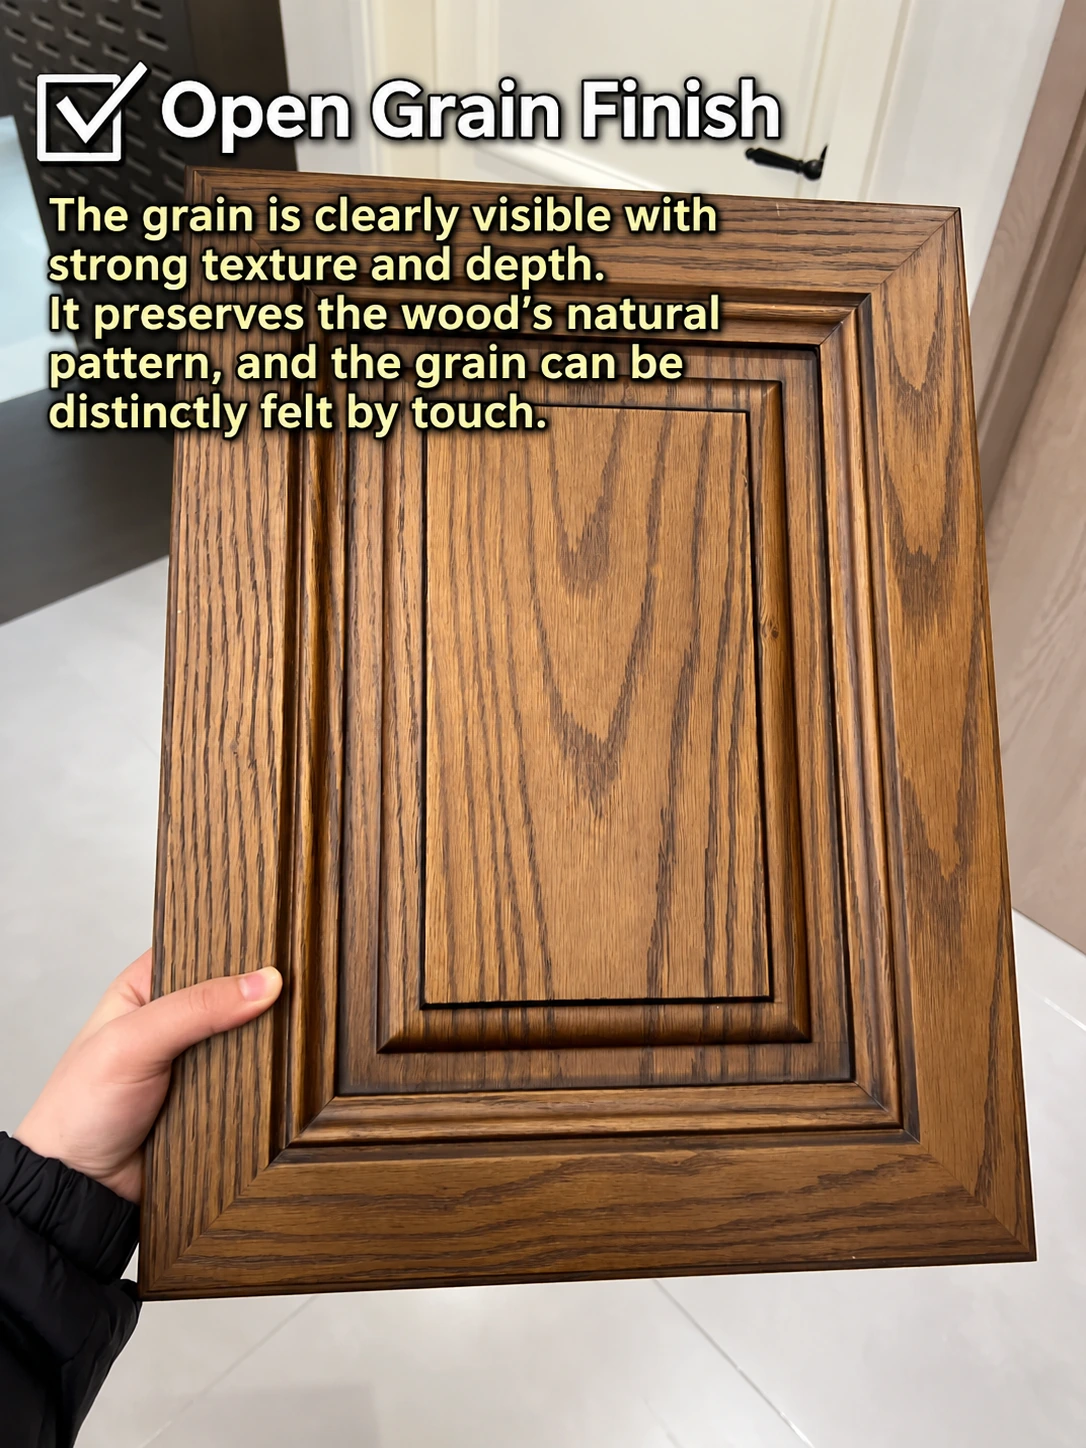
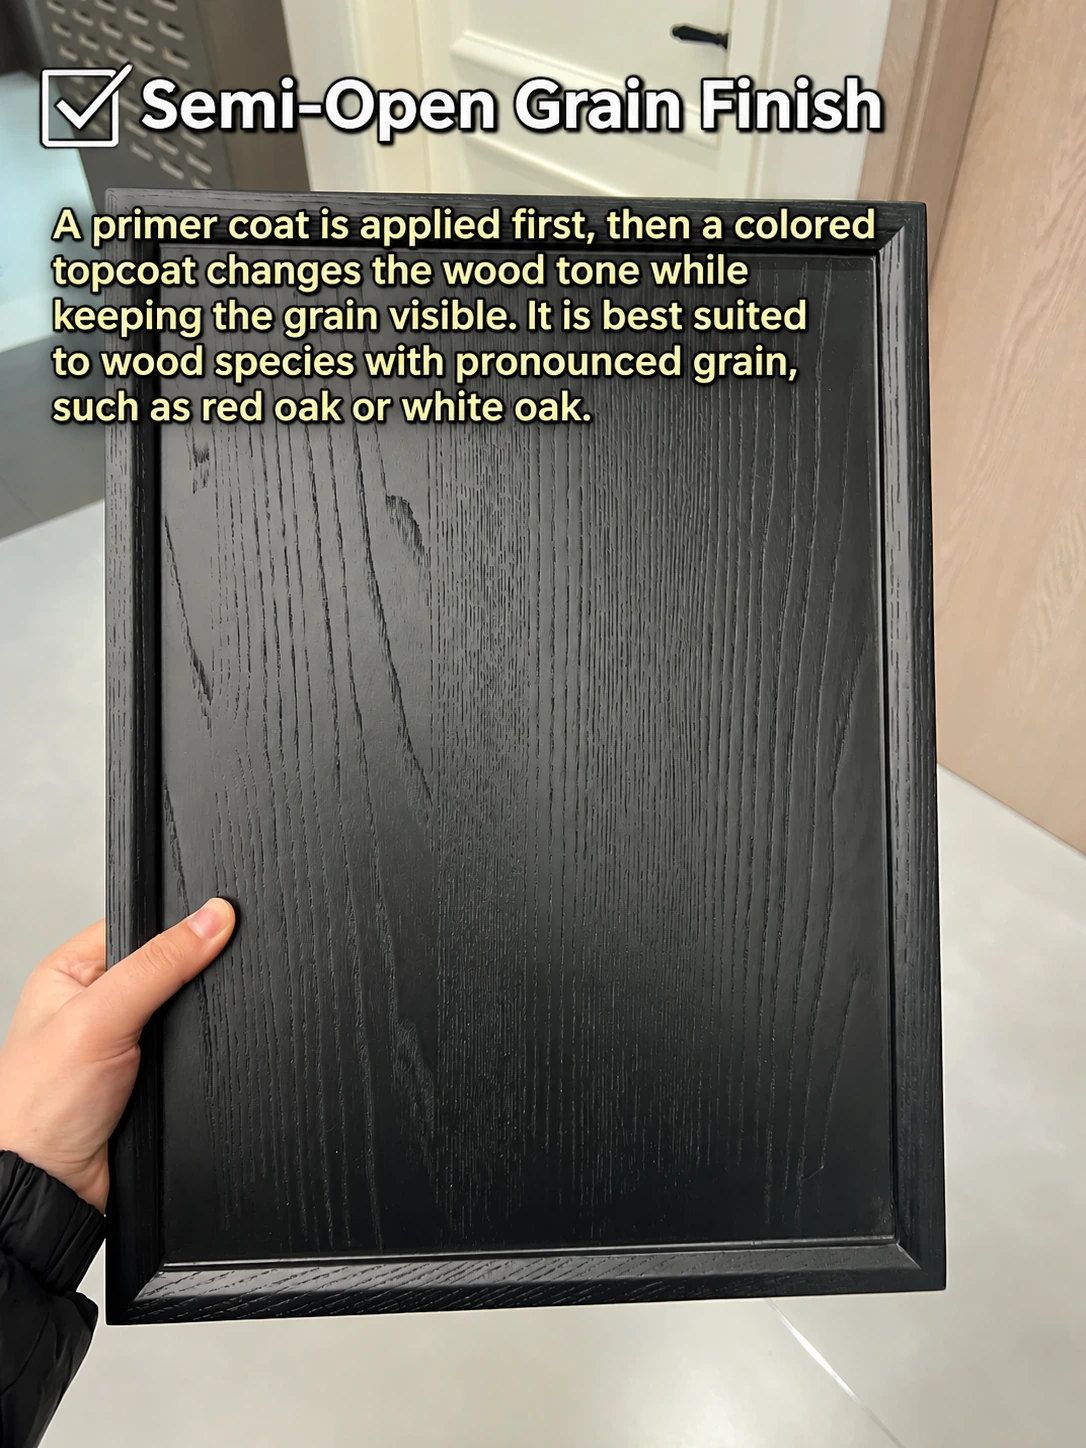
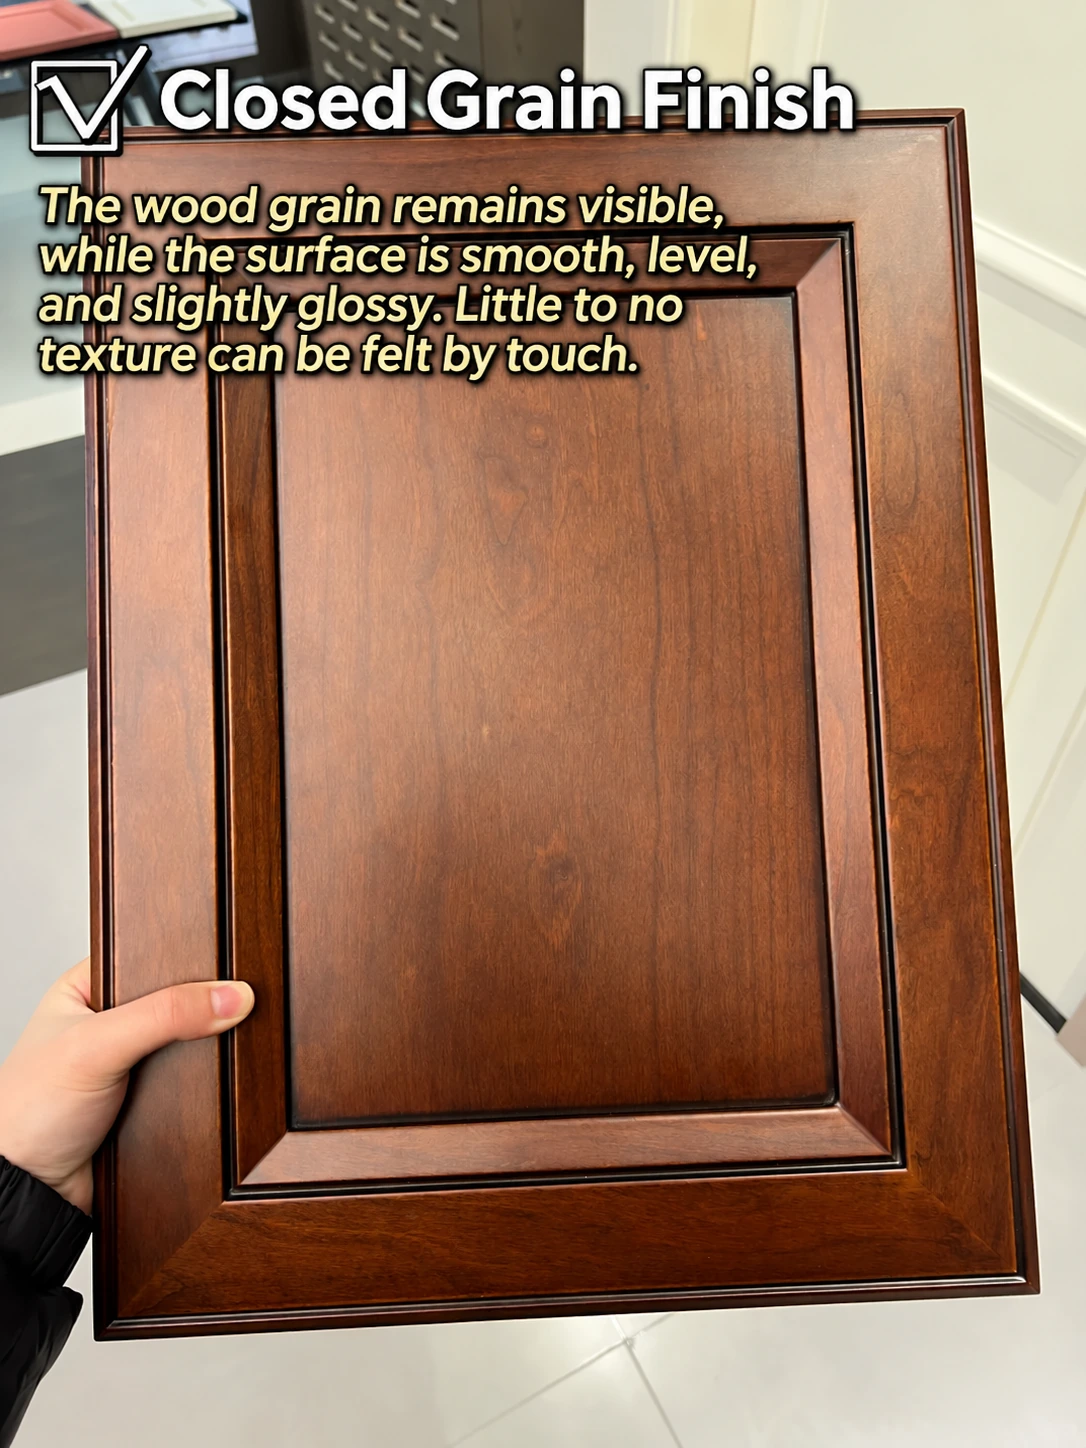
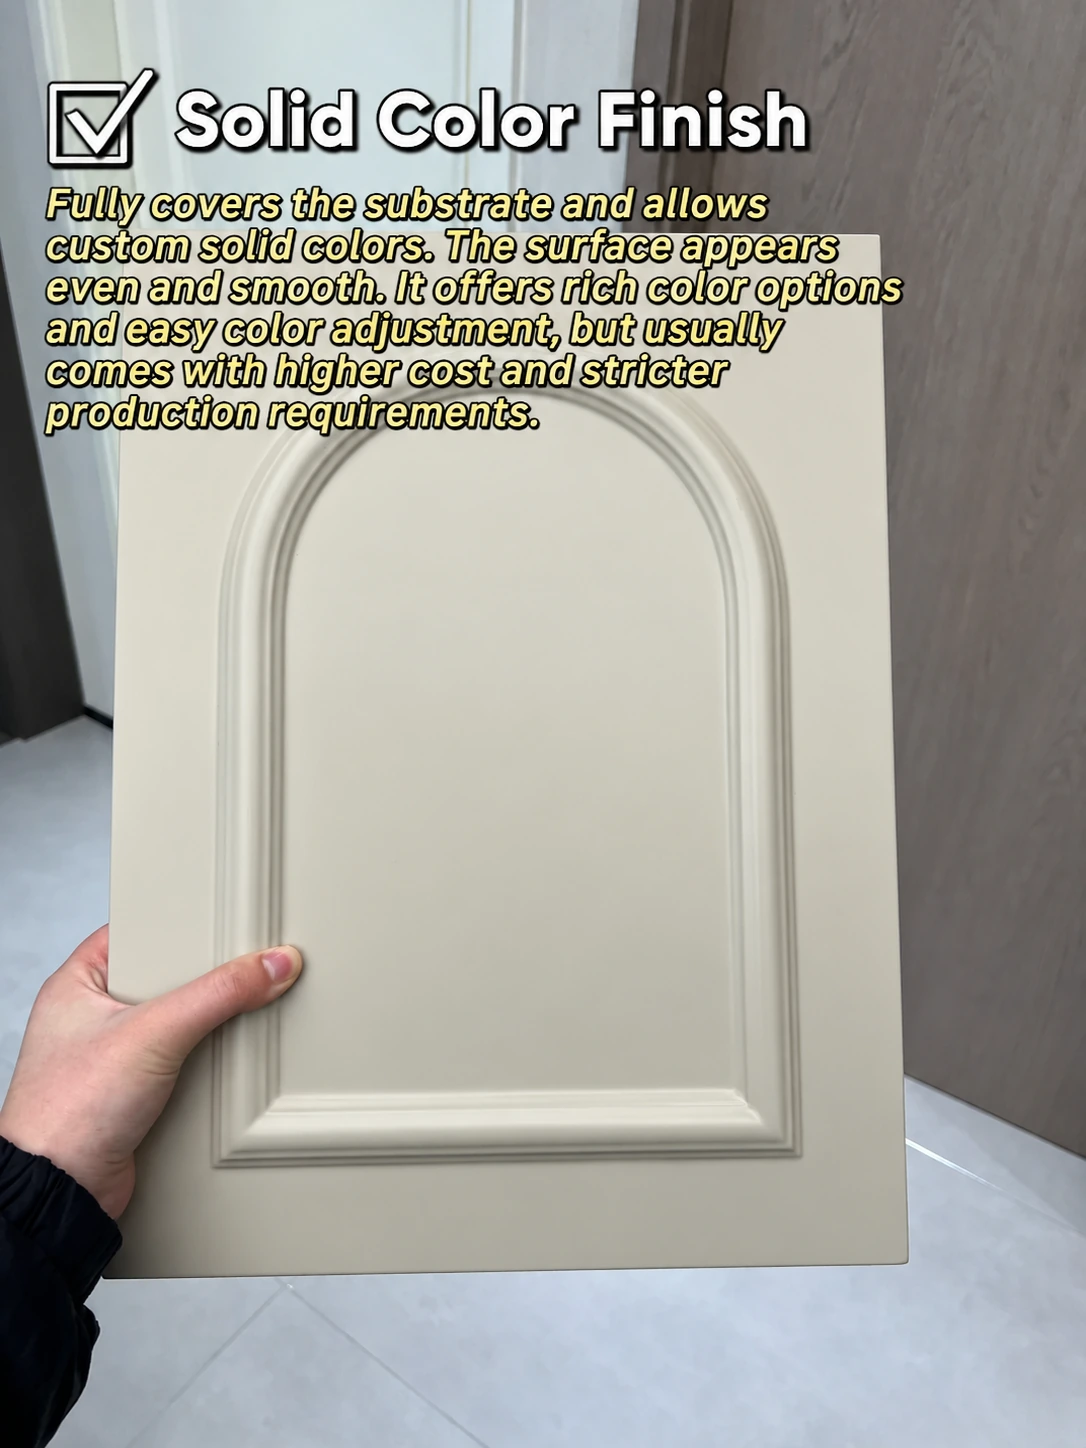
The most useful way to specify a furniture finish is to define how much grain and pore texture should remain visible. Open-grain, semi-open-grain, closed-grain and solid-color systems can all be high quality, but each requires a different preparation and coating build.
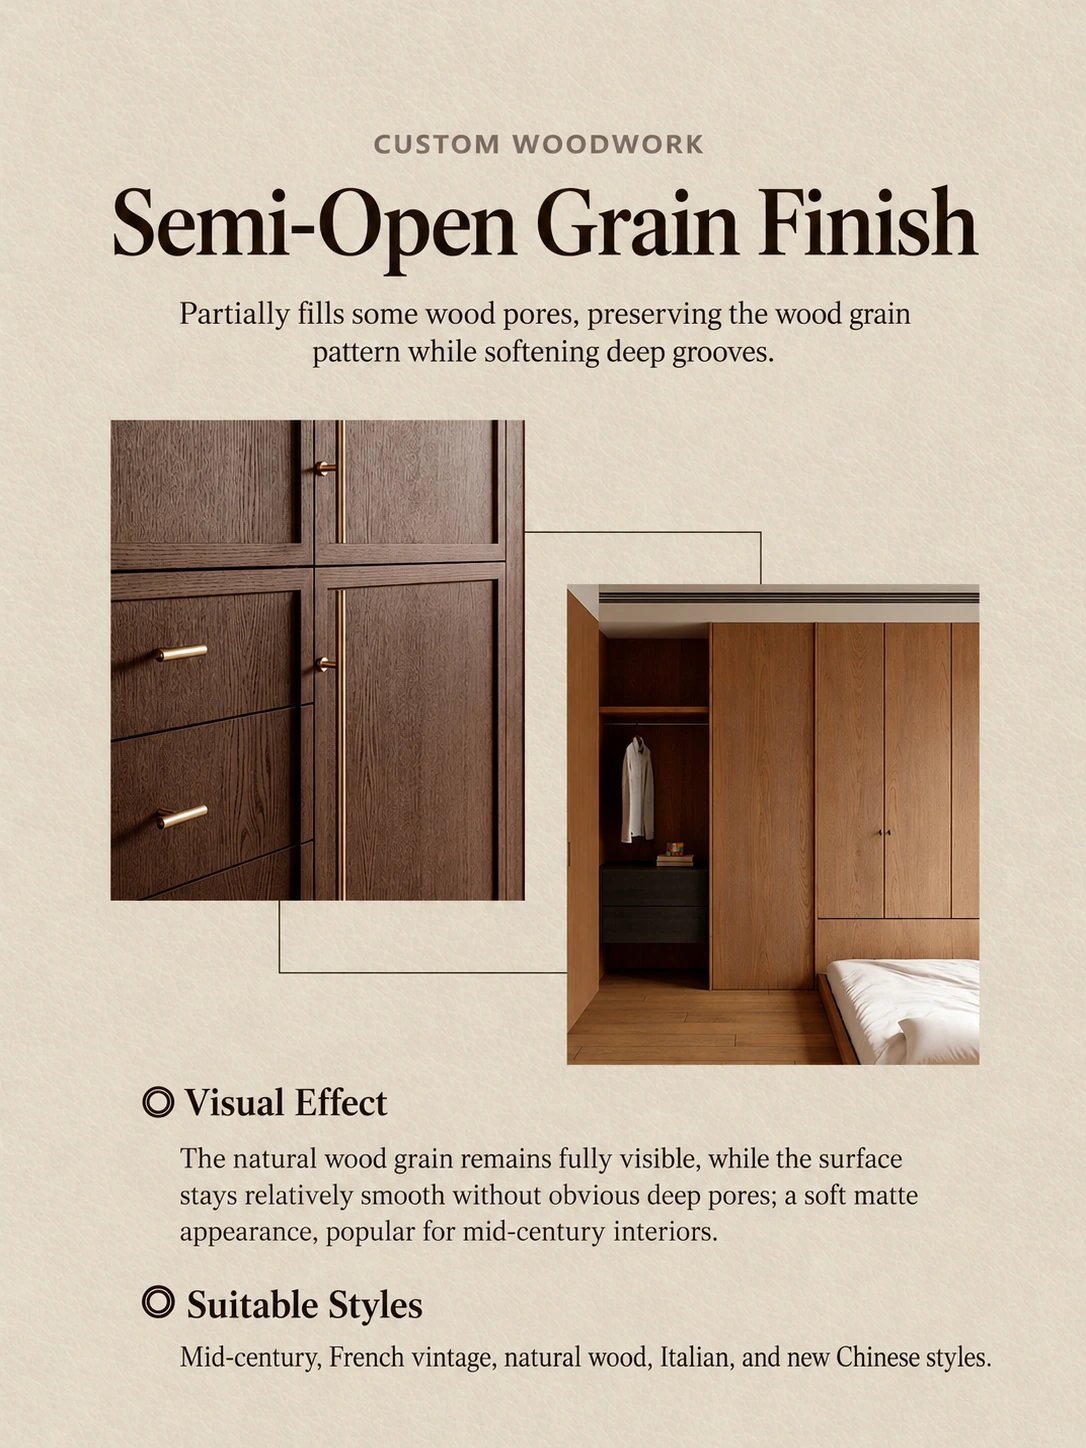
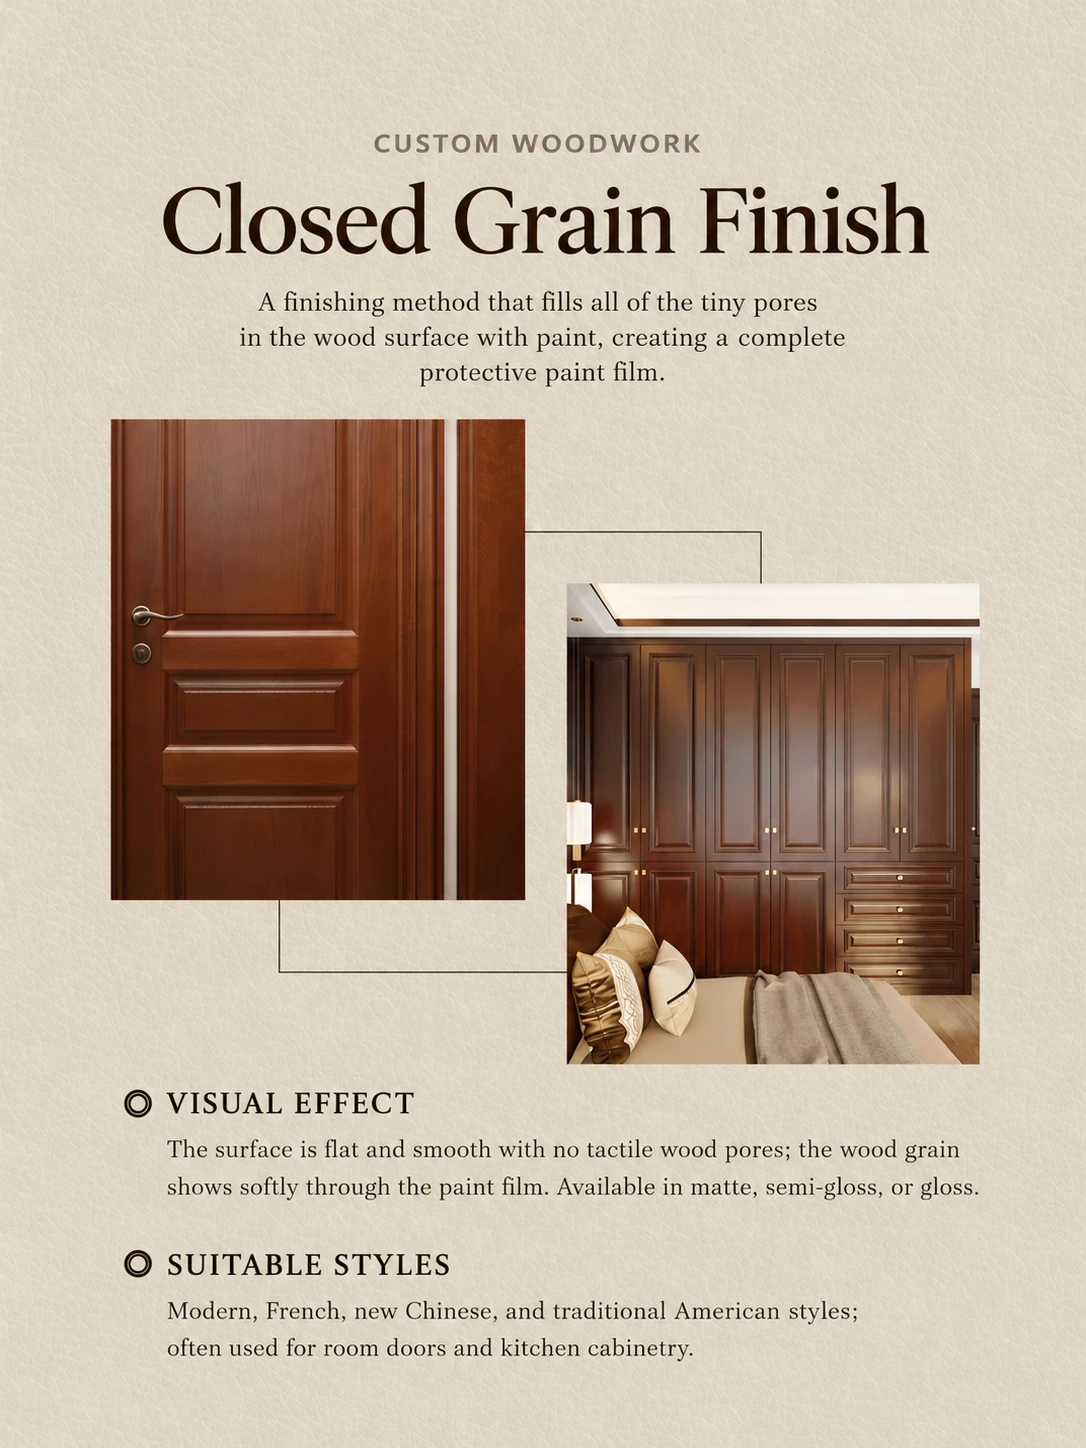
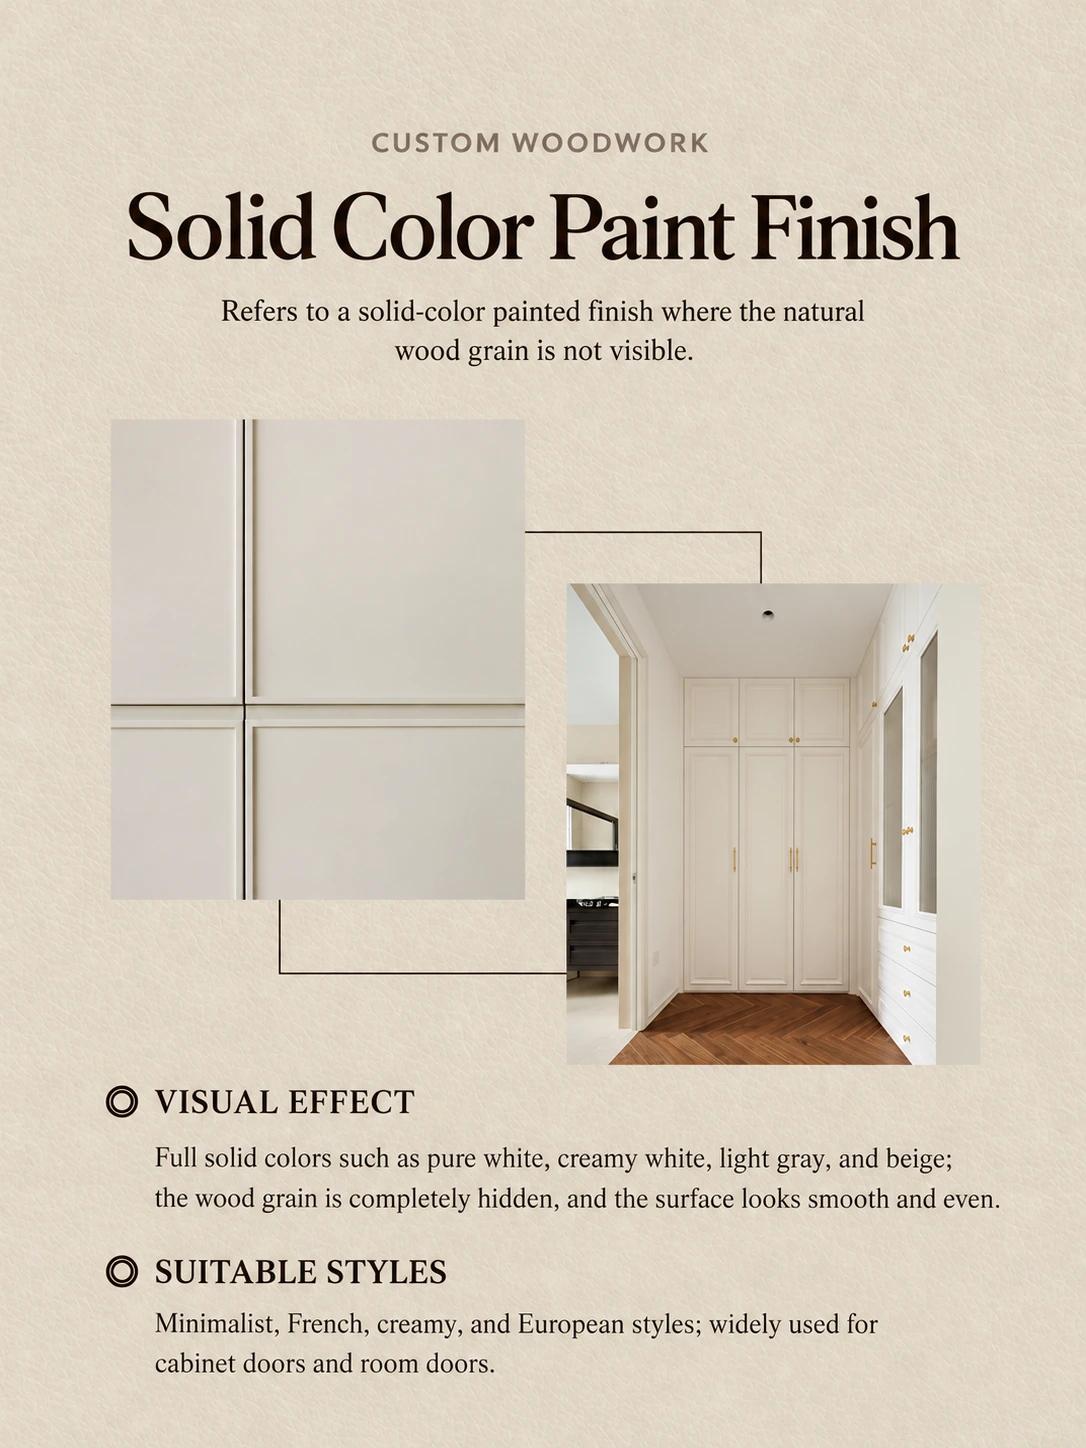
Before-and-after references should always be reviewed together. The raw surface shows grain, pores, machining marks and edge condition; the finished surface shows how the coating system changes color, light reflection, smoothness and perceived refinement. Keeping these references in one approval group makes it easier to judge whether the final result still matches the intended material character.
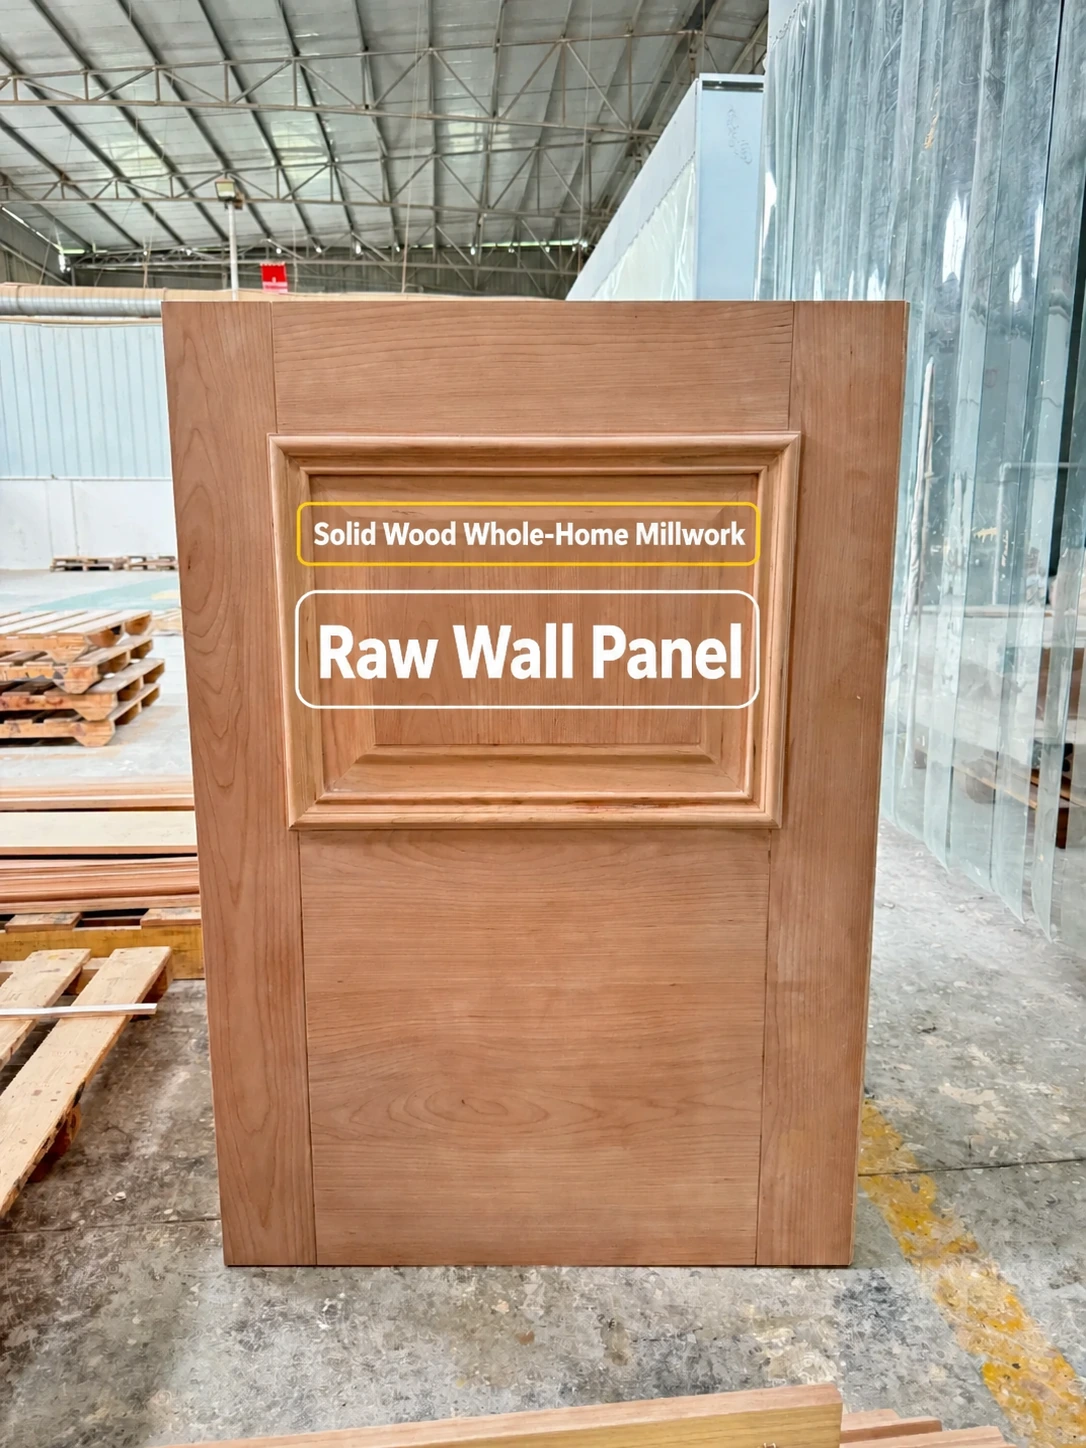
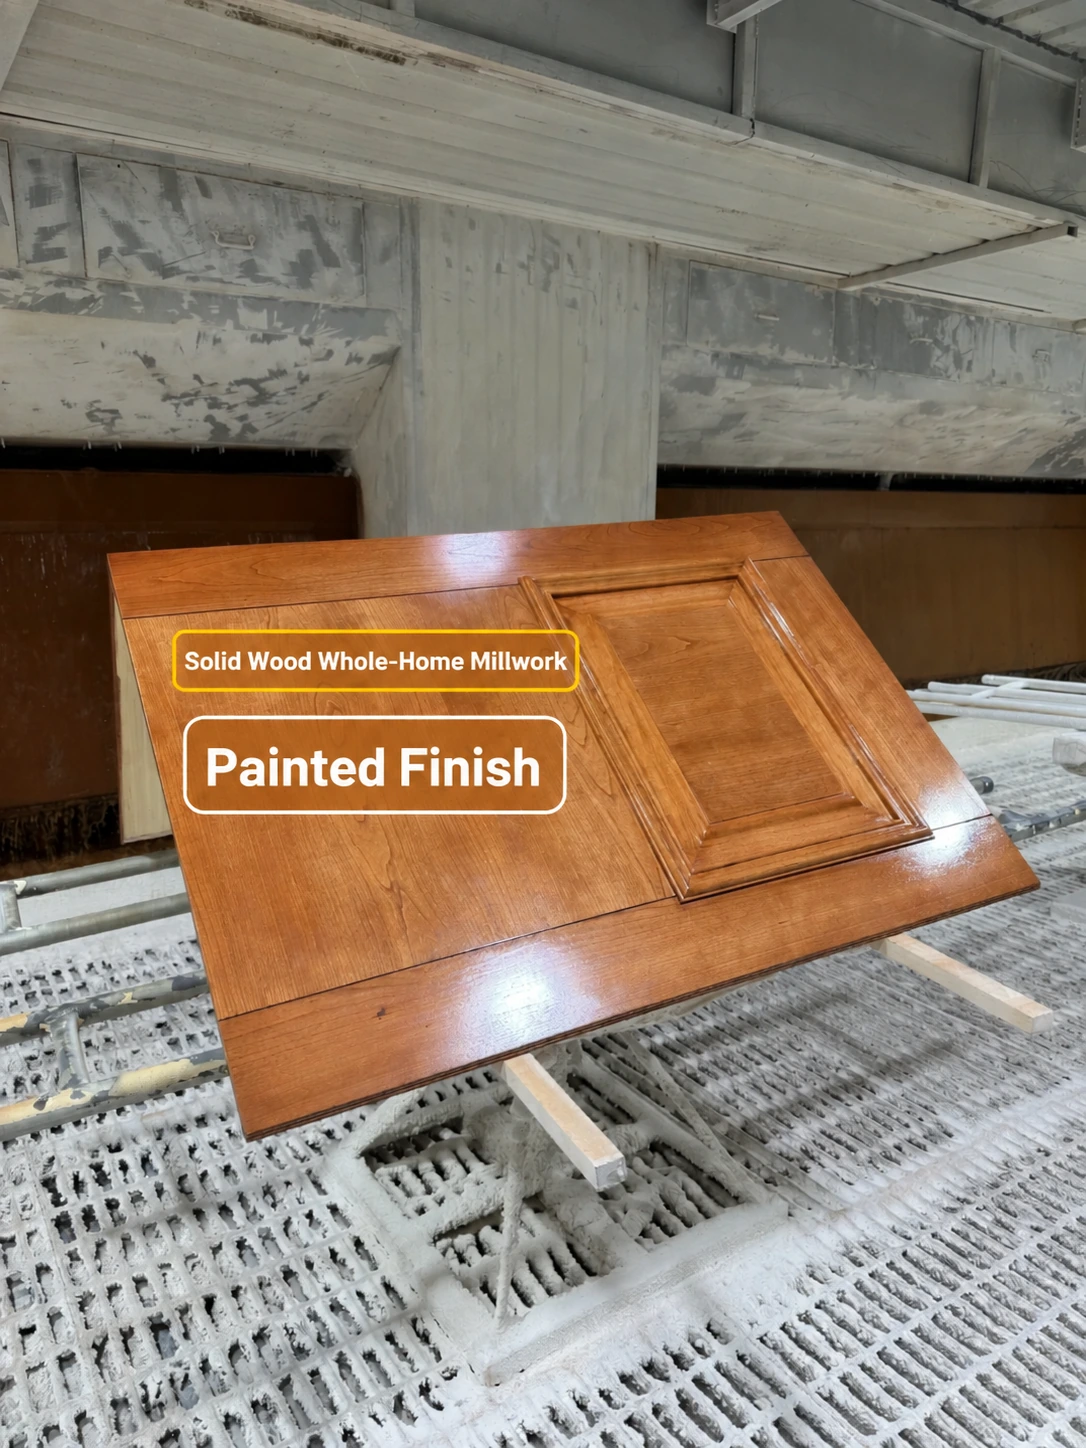
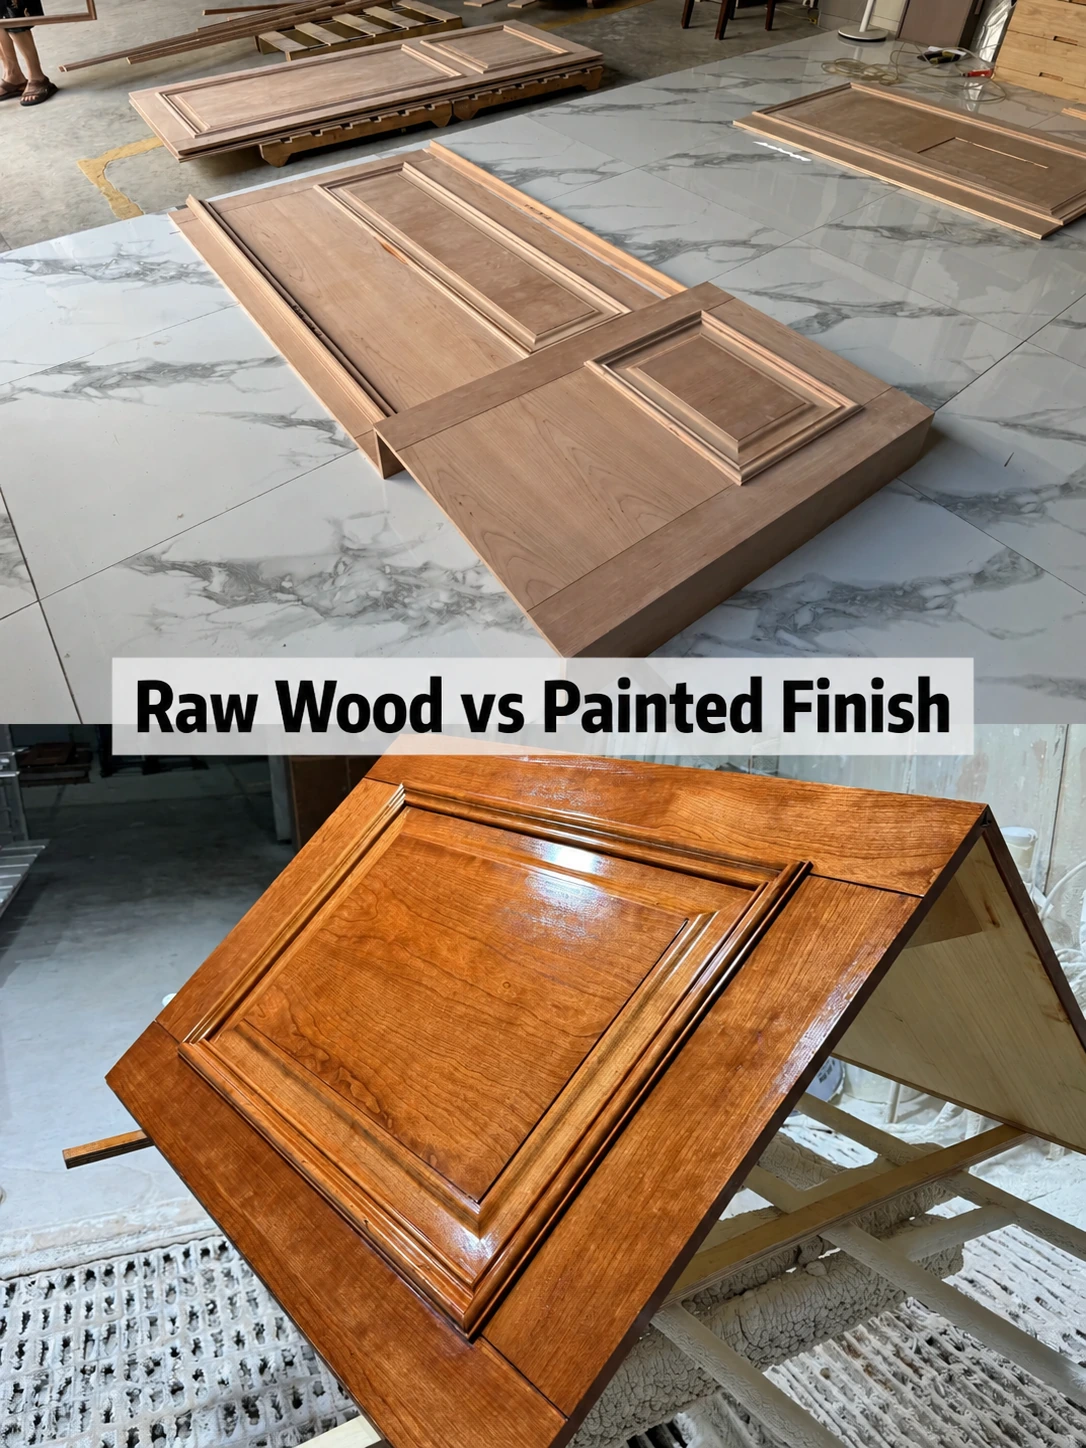
Lacquer forms a controlled film over the prepared surface. Depending on the system, it may protect visible grain, add color while keeping texture readable, fill pores for a smoother appearance, or create an opaque architectural surface. The quality of the result depends less on one single coat than on the entire sequence of preparation, application, sanding and curing.
On large furniture elevations, thin inconsistencies become visible when light travels across adjacent panels. On profiled doors, excessive build can soften details. On open-grain furniture, over-filling can erase the natural texture that the design intended to preserve.
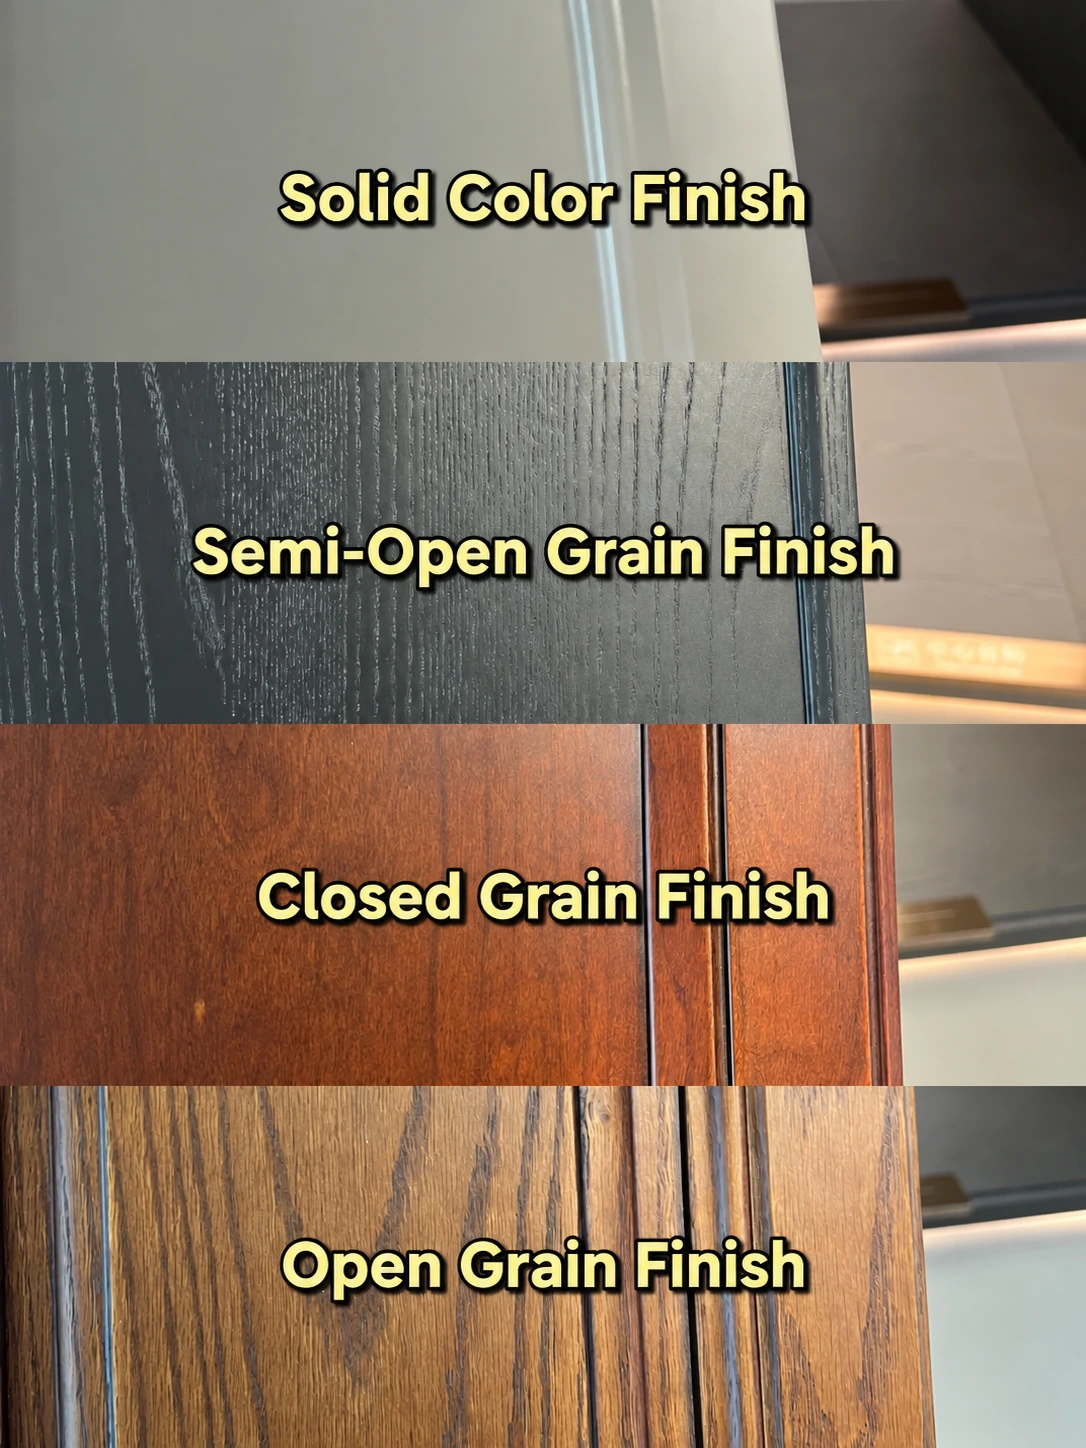
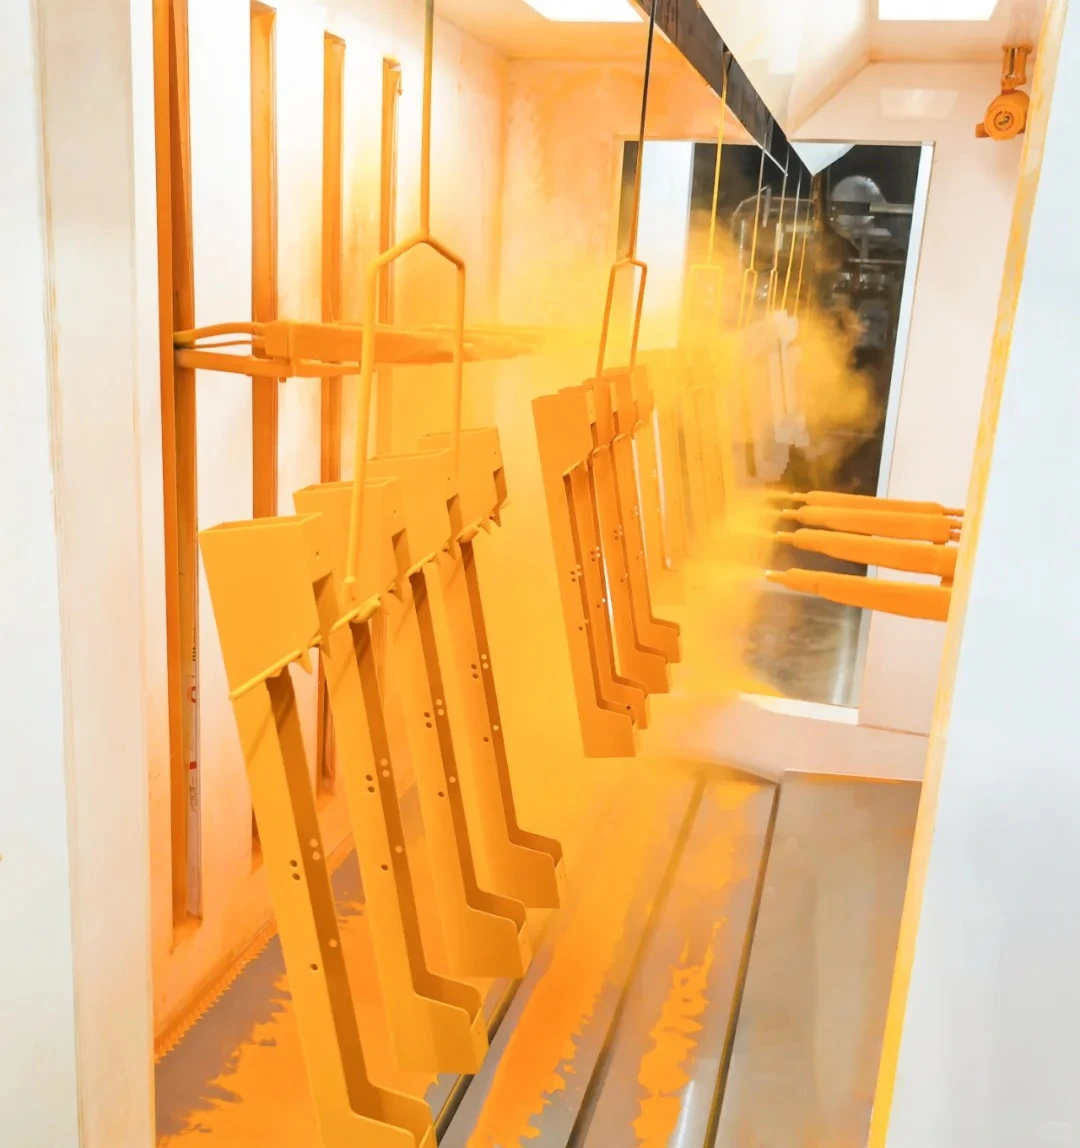
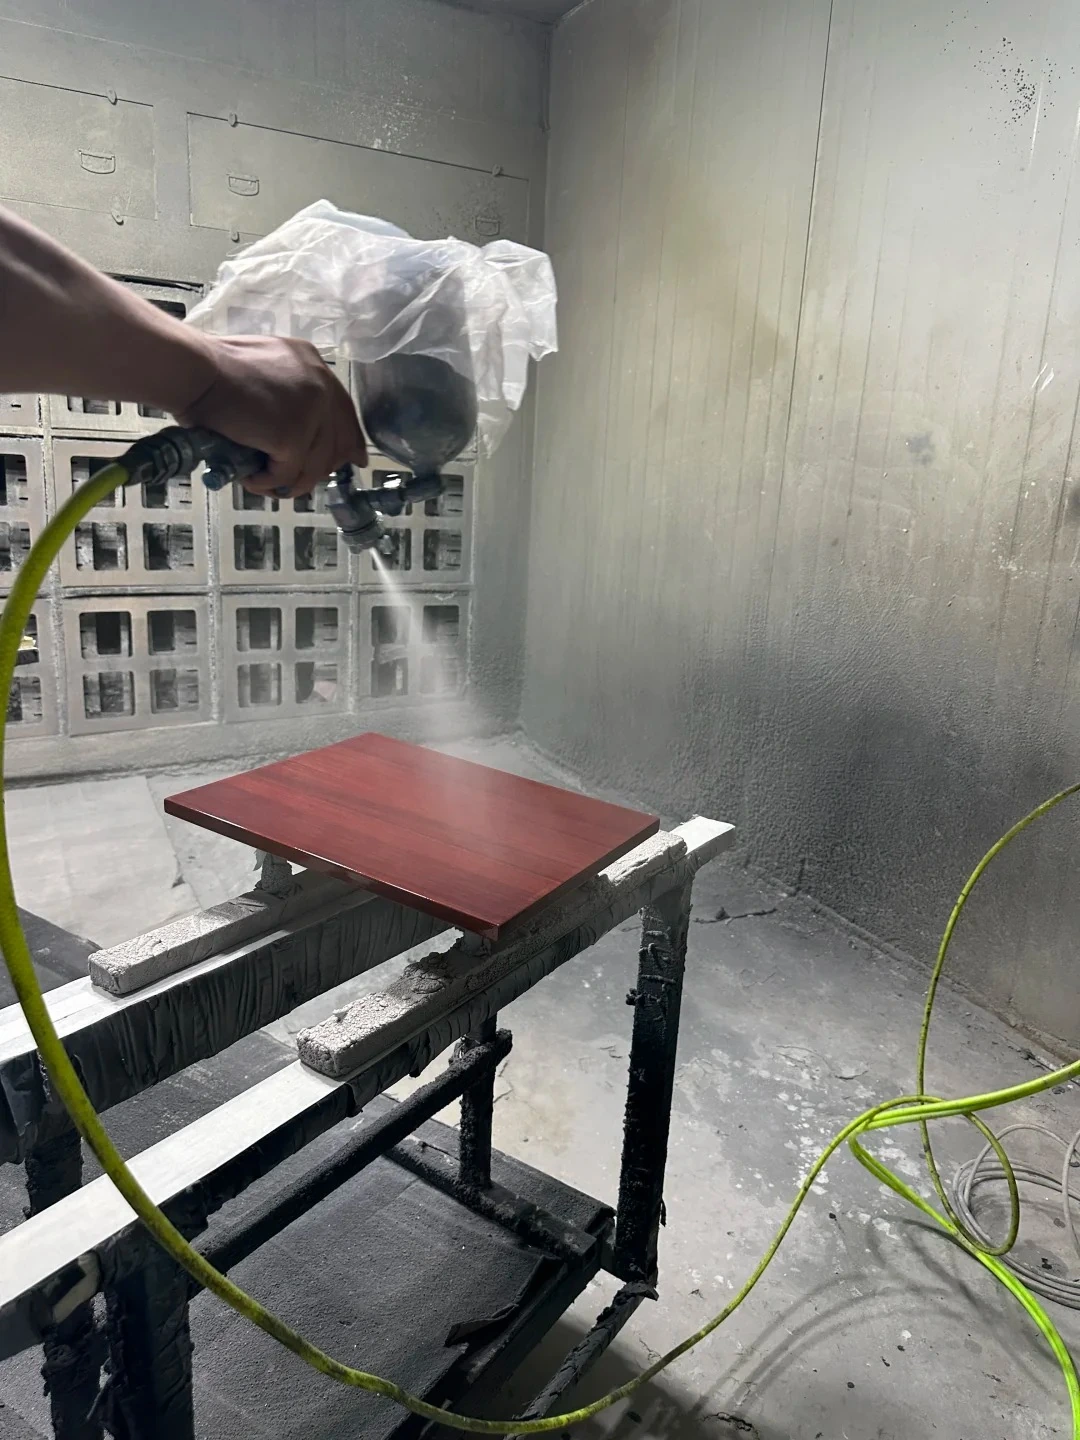
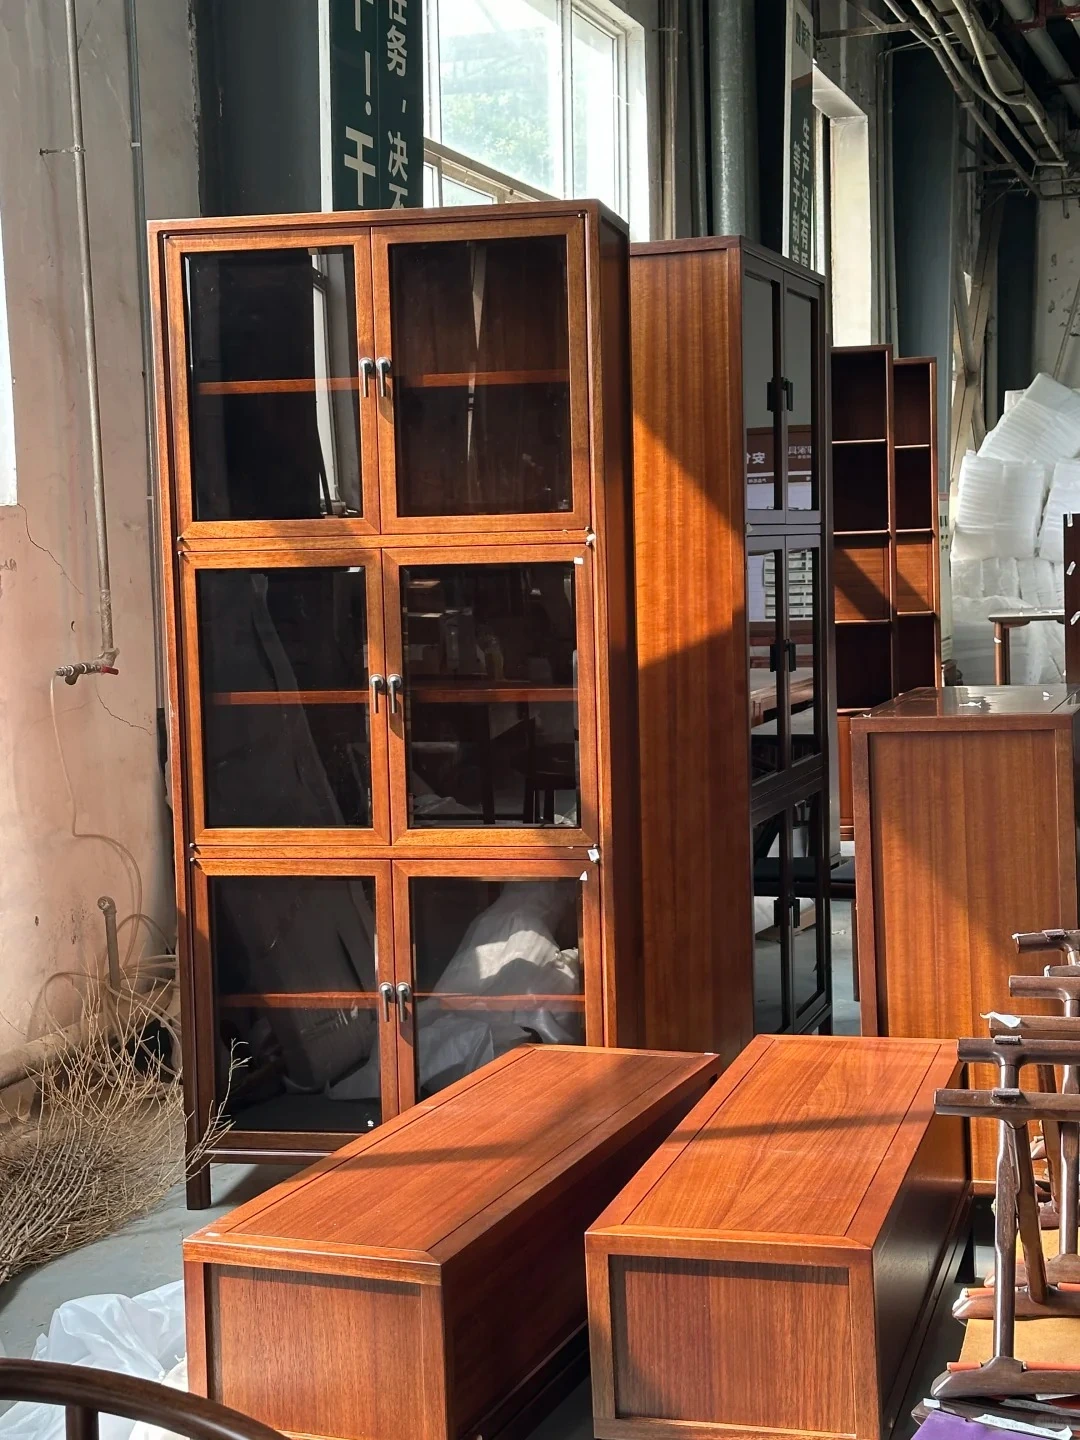
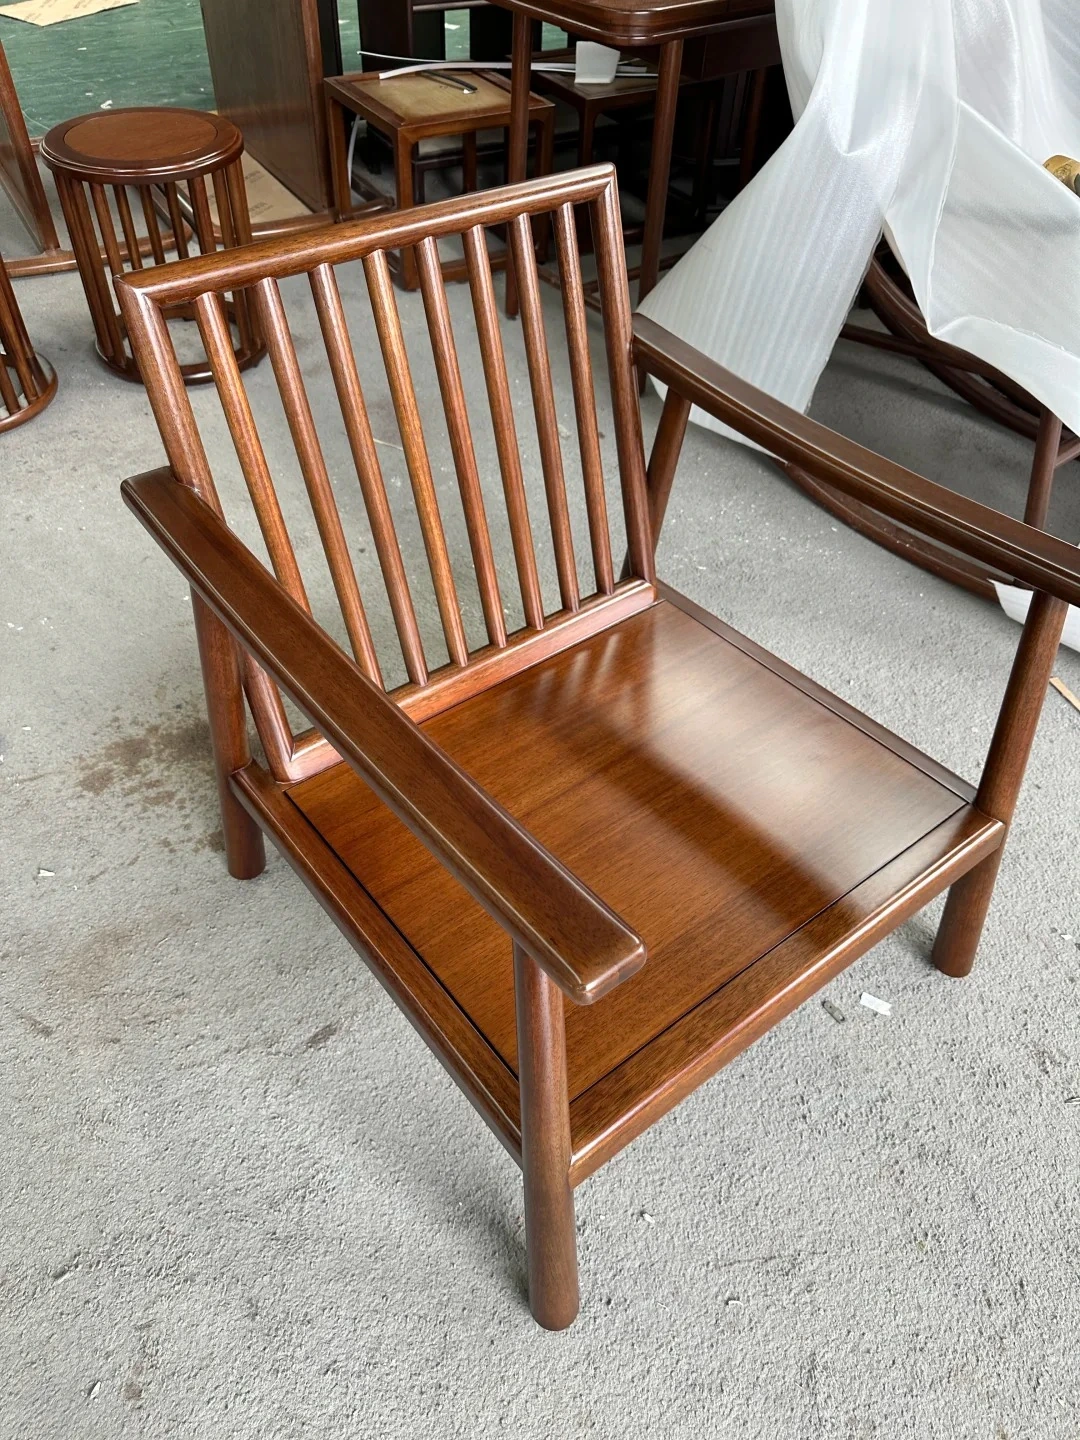
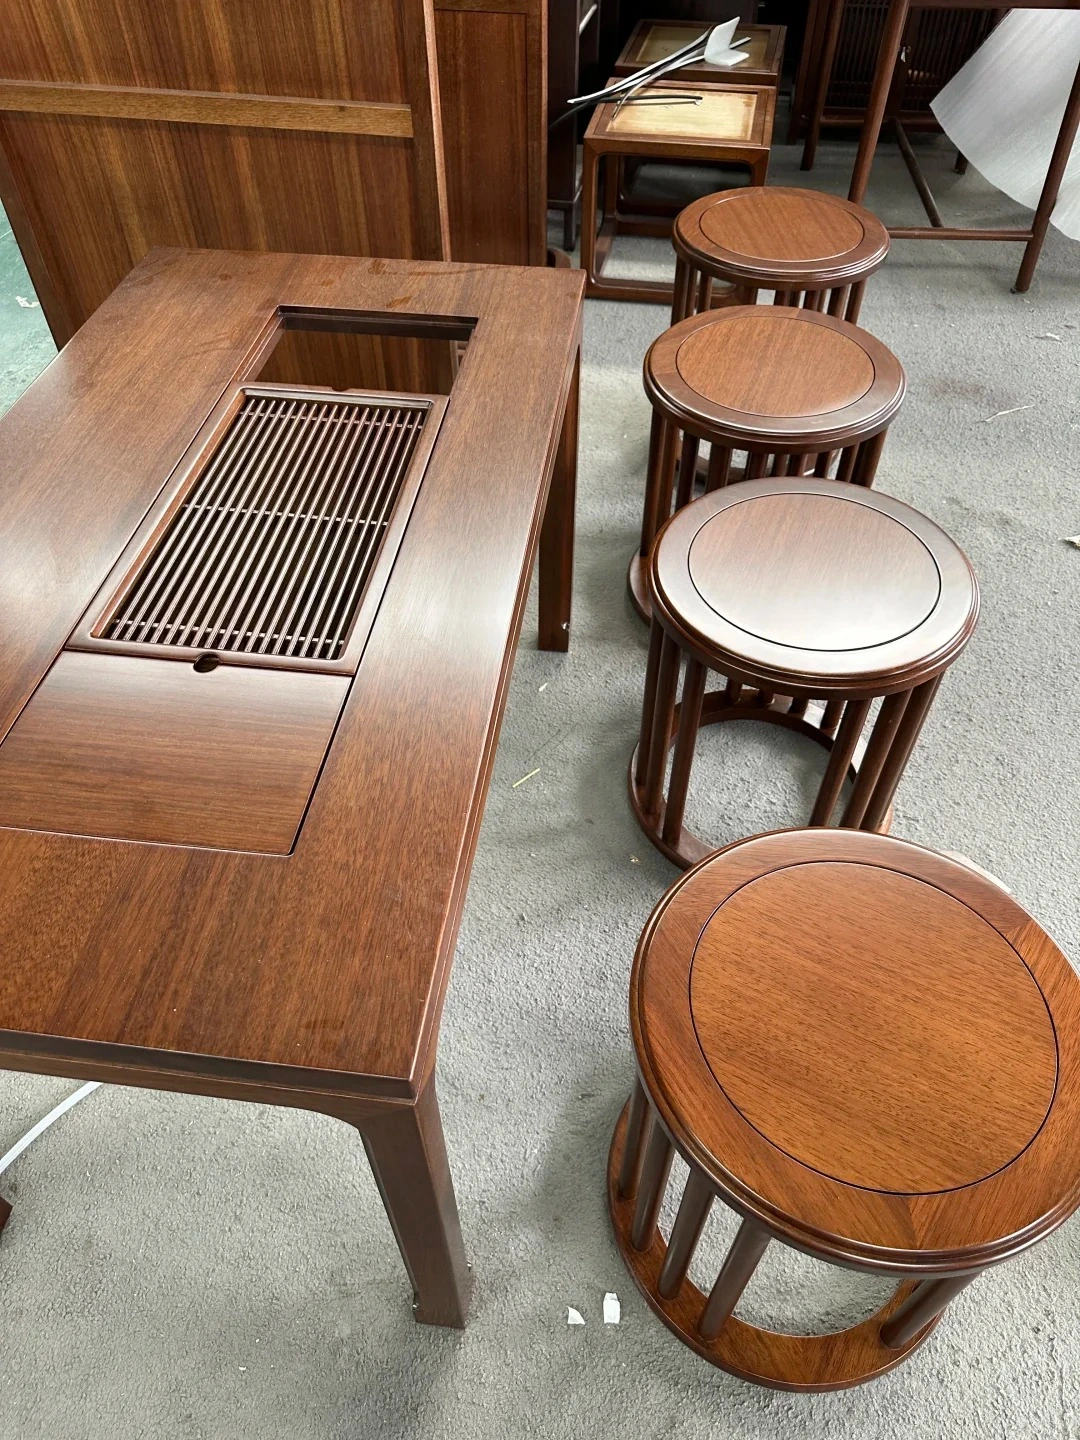
Fine finishing is often won or lost before the final topcoat. Sanding should remove machining marks and raised fibers without rounding edges or flattening intended texture. Between coats, the objective changes from shaping wood to leveling the coating build.
Flat panels should remain visually flat under raking light. Curves and molded details require even hand pressure so the finish does not become thin on high spots or heavy in recesses. The most refined surfaces feel controlled rather than simply thick.
Color cannot be evaluated independently from texture and gloss. Matte finishes scatter light and can make a tone feel softer; higher sheen increases reflection and makes surface irregularities more visible. An open-grain matte finish therefore reads very differently from a closed-grain matte finish, even when both use a similar color.
| What to approve | Why it matters |
|---|---|
| Color | Controls the overall relationship with flooring, stone, metal and surrounding furniture. |
| Grain openness | Defines how much natural pore texture remains visible. |
| Sheen | Changes reflection, visual depth and how clearly small defects can be seen. |
| Profile sharpness | Shows whether coating build is controlled on routed details and edges. |
Large flat panels can look convincing in photographs, but edges, inside corners and routed details are more revealing. Look for consistent coverage, crisp geometry, clean transitions and no exposed substrate. Opaque finishes should support the profile rather than blur it; visible-grain finishes should maintain intentional grain direction and edge color.
These details are closely linked to the construction underneath. If a joint moves, a panel edge is poorly prepared or a substrate is unstable, the finish often becomes the first place where the problem is visible.
| QC point | What good work looks like |
|---|---|
| Color consistency | Matching parts read as one set without obvious panel-to-panel drift. |
| Sheen consistency | No isolated glossy or dull patches under angled light. |
| Surface cleanliness | Minimal dust nibs, pinholes, fisheyes or trapped contamination. |
| Edges and corners | Even coverage without heavy buildup, exposed substrate or rounded detail. |
| Grain target | Open, semi-open or closed pores match the approved physical sample. |
| Cure | The finish is hardened enough for wrapping, stacking and transport without imprinting. |
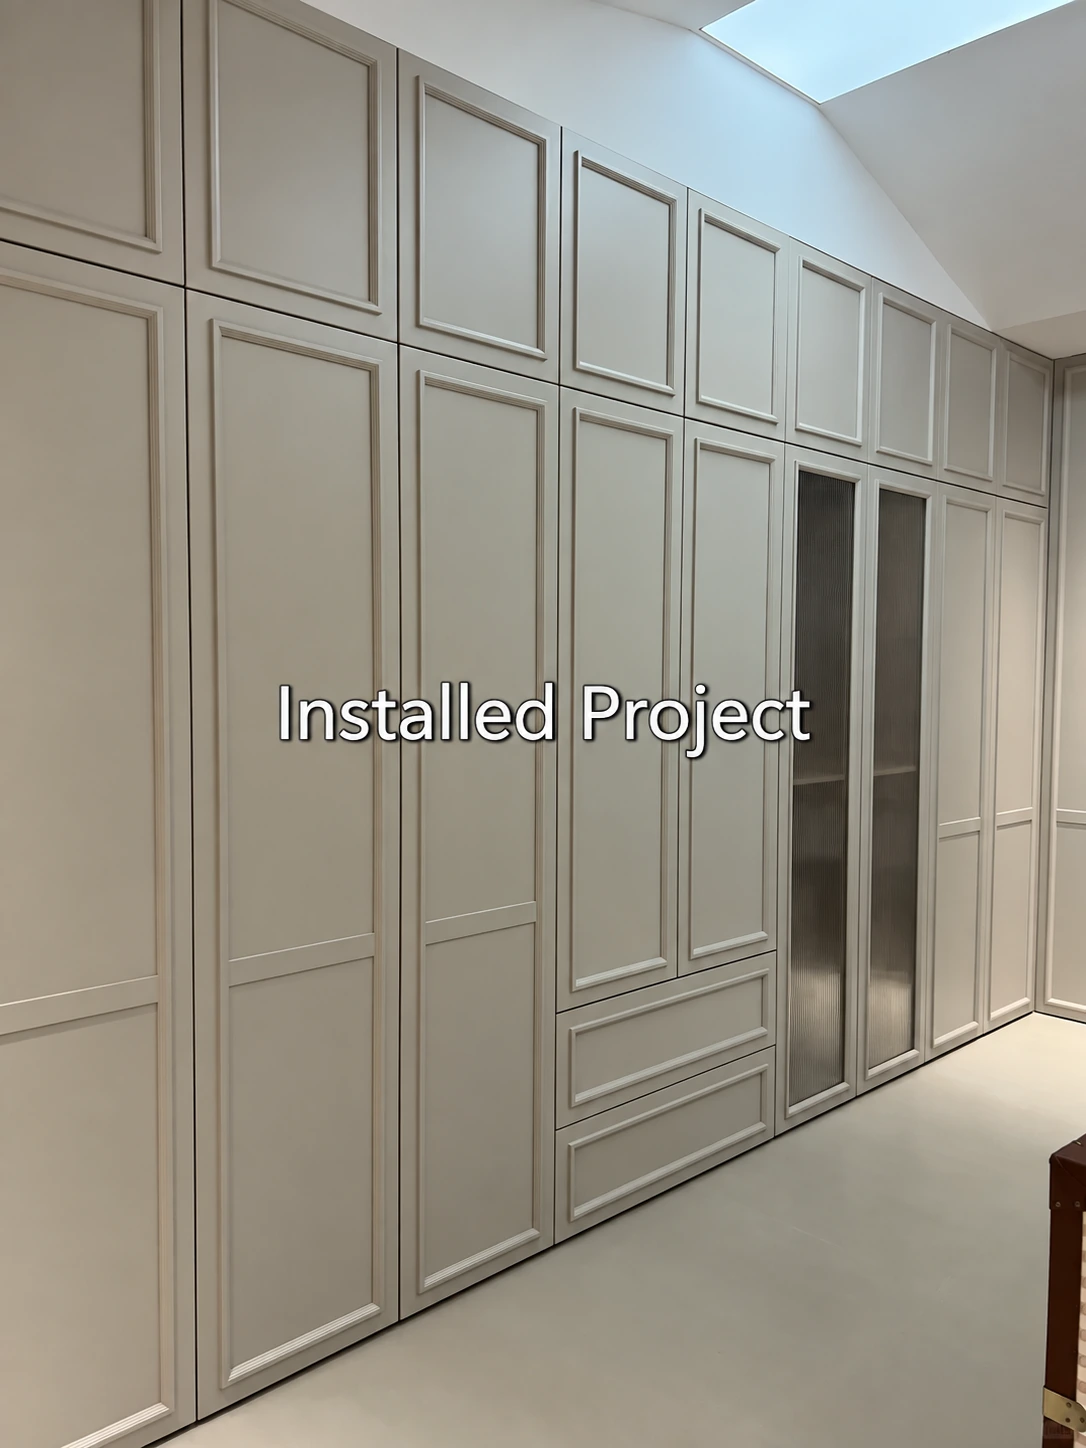
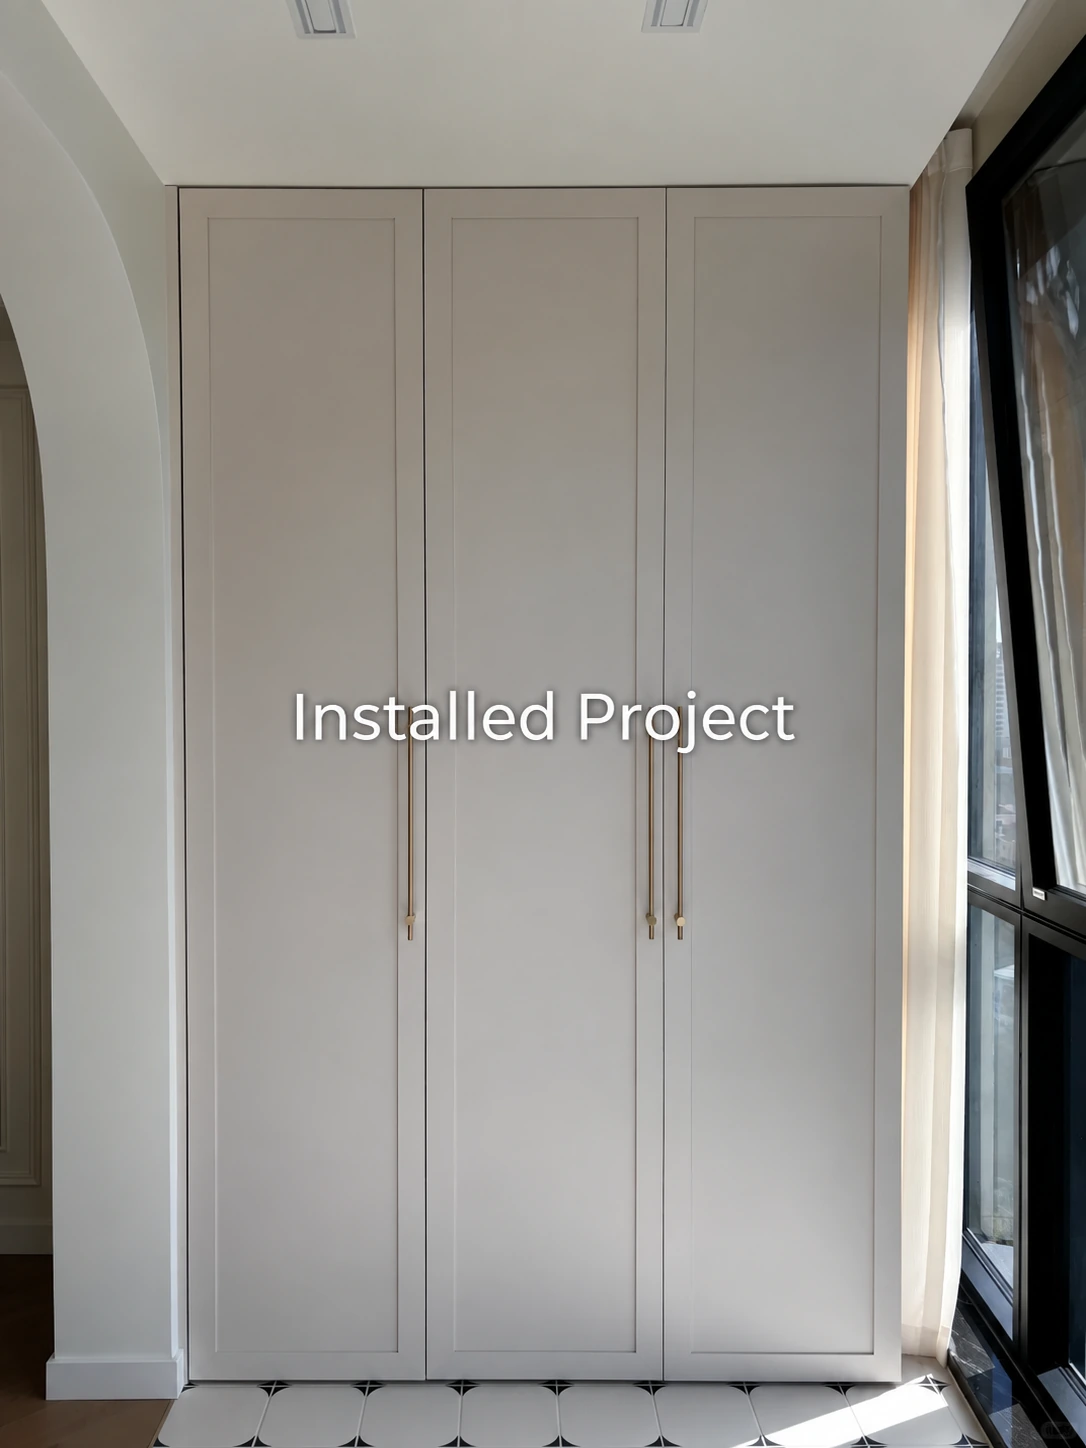
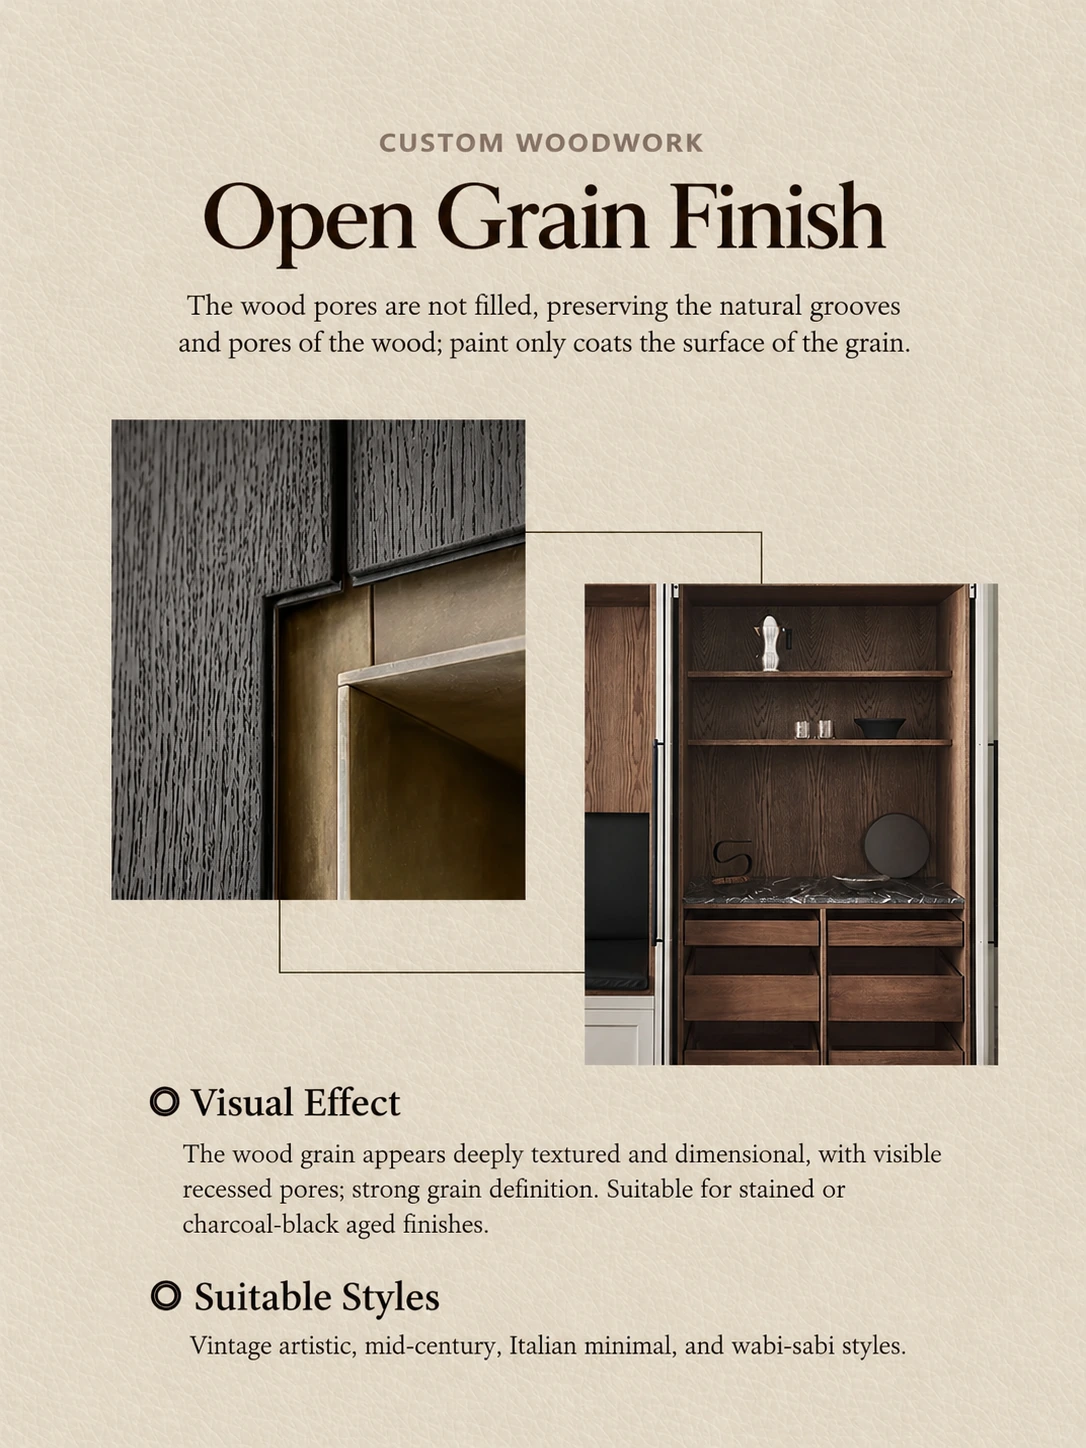
Open-grain systems work well when the natural wood texture is part of the design. They are especially useful on furniture where tactile grain and visual depth are desirable.
Closed-grain systems require more filling and leveling, but they create a calmer and more continuous appearance that works well on formal cabinetry and premium casegoods.
Opaque finishes are useful when the design depends on consistent color across many panels. The substrate and edge preparation become critical because the coating no longer has natural grain variation to visually disguise small inconsistencies.
For whole-home projects, the most reliable approach is to approve a physical control sample and then compare production parts against it before packing. Ratahome’s construction guide follows the same principle: visible finish quality depends on the structure and process underneath.
No. Too much film build can soften profiles, create cracking risk at movement points and make the surface look heavy. The goal is the correct system and controlled build for the substrate and design.
Open grain preserves visible pores and texture. Closed grain fills and levels those pores to create a smoother surface. Both can be premium when executed intentionally.
Sheen, substrate absorption, primer color, film thickness and lighting can all change how the final color is perceived. Matching parts should therefore be approved together under similar light.
Ask for a physical finish sample that confirms color, grain openness, sheen and edge treatment. Keep that sample as the production reference for later quality control.
Send Ratahome your floor plan, reference images and finish direction. We can coordinate material selection, finish sampling, manufacturing and quality control as one project.
Start Your ProjectLearn how to inspect a sofa before shipping with a practical factory QC process covering frame structure, springs, cushions, upholstery,…
Read article →Learn what wood veneer is, how veneering and fine woodworking work together, how grain is matched, panels are pressed, curves…
Read article →Learn how quality cabinets are made, from plywood and solid wood selection to door design, joinery, finishing, assembly, hardware installation…
Read article →